What does bleed mean in printing
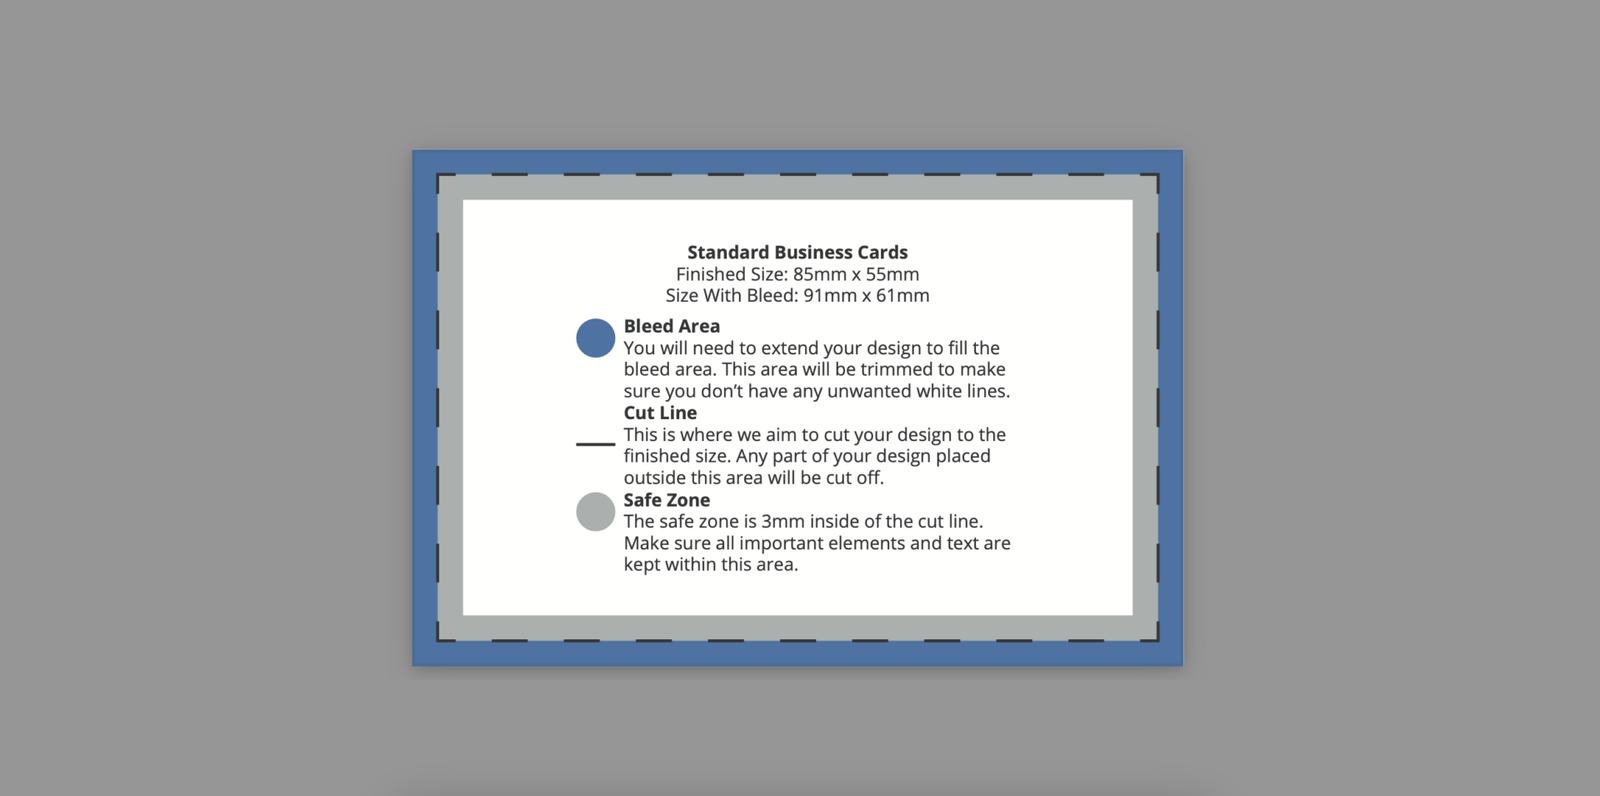
The bleed area is an extension of your design that goes beyond the final trimmed size of your print design. In the UK, this typically extends 3mm beyond each edge. Think of it as a safety zone that accounts for slight variations during the cutting process.
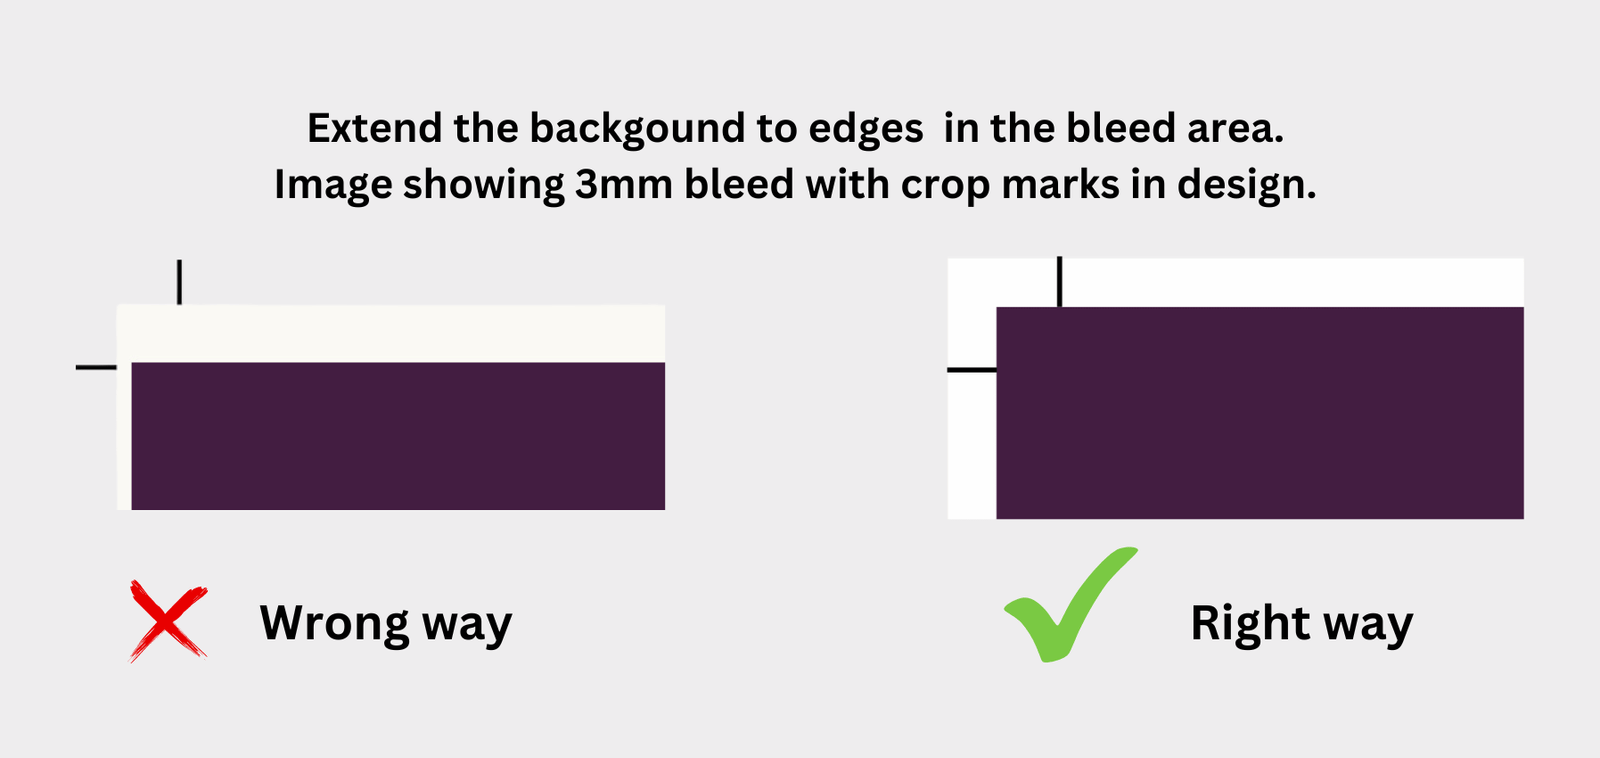
Supplying your job without bleed may result in white lines when we trim it.
Why is Printing bleed important?
- Prevents white lines: Printing machines aren’t perfect, and the final cut might be slightly off. Bleed ensures your design goes all the way to the edge, avoiding any unsightly white borders after trimming.
- Professional look: A clean, edge-to-edge design looks polished and more professional.
- Creative freedom: Bleed lets you have your design elements (backgrounds, images) go right to the edge for a visually impactful look.
How to add bleed to your 85mm x 55mm business card:
- Start with a larger document: Don’t design directly on the 85mm x 55mm size. Instead, use a document size of 91mm x 61mm. This adds 3mm bleed on all sides (3mm on top, bottom, left, and right).
- Extend your design elements: Make sure any background colours, images, or graphics that you want to reach the edge extend into the bleed area by 3mm on all sides.
- Keep important info inside: Avoid placing text, logos, or crucial details within the bleed zone, as they might get cut off during trimming.
Also Read: Standard business card size in the UK

Remember:
- This is the standard 3mm bleed for printing in the UK. Some printers might specify a different bleed requirement, so always check their guidelines before designing.
- Most design software like Adobe Photoshop or Canva have bleed guides to help you position your elements accurately.
- Double-check your design before exporting it for printing to ensure everything is within the safe zone and bleed area.
Also Read: What is GSM paper – GSM Paper guide UK


